Replacing the Heater Band
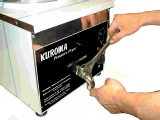
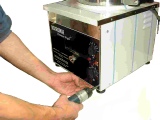
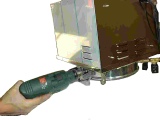
1. Unscrew the Drain Valve.
2. Remove DIN Plug from Solenoid Valve.
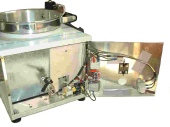
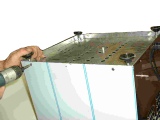
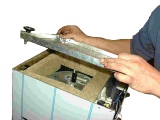
3. Undo wing nuts and remove Splash Back.
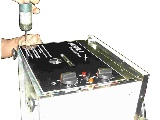
4. You can remove the Pressure Gauge to make handling easier (this is optional).
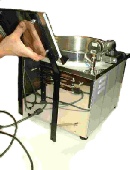
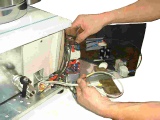
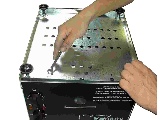
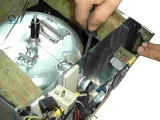
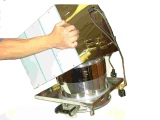
5. Remove the front panel screws (there are 4).
6. Open front panel from the left, being careful not to pull the wiring.
7. Disconnect the two glass insulated nickel heater wires.
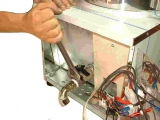
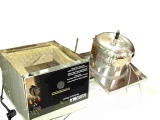
8. Replace drain elbow finger tight.
(prevents female thread becoming elliptical).
9. Unscrew Drain Valve.
10. Temporarily replace Front Panel.
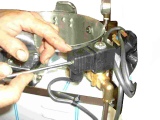
11. Remove Pot fixing nut, 13 mm spanner.
12. Remove Ceramic Terminal Block fixing nut, 8mm spanner.
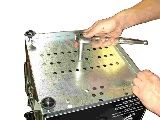
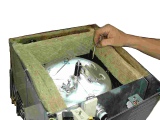
13. Remove Base Plate screws.
14. Remove Base Plate.
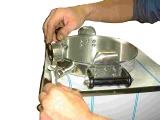
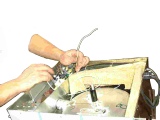
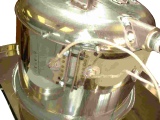
15. Remove the two capillary thermostat bulbs from their pockets.
16. Unscrew set screw.
17. Pull heater wires back through grommets.
18. Drill out pop rivets to hob top 3.5mm drill bit.
19. Remove outer casing.
20. Leave outer casing to one side.
21. Unscrew the double nuts and remove Heater Band.

Copyright on the material in this website is owned by Pandet Ltd. Reproduction without written permission from Pandet Ltd. is expressly forbidden. 22nd August 2002.